Once the program appears on your Windows Desktop/Mac Applications folder you need to log on for the first time with the Licence, Username and Password your administrator has given you.
1. Double-click the ReportComplete icon to start the program.
2. You will be presented with a menu if this is the first time you have used ReportComplete on your computer. Pick an option!
Usually it will be 'Enter a licence code' but if you have bought a single user licence then you should choose 'Use a voucher code'.
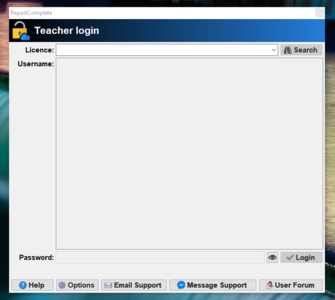
3. You will see the initial login window. As well as logging in (see below) you can also update the program and set various login options using this window.
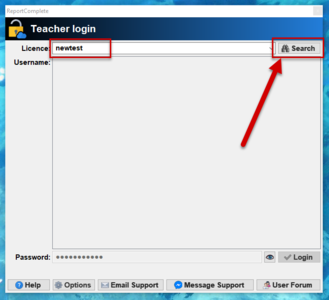
4. First, type your licence name into the licence box, then click 'Search' and a list of usernames will appear.
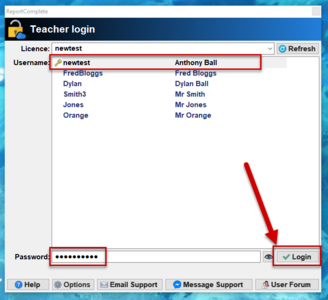
5. Click on your username (it will then be highlighted) then type your password in the box below and click 'Login'.
The password is case sensitive so use capital/lowercase letters as required.
You will be auto-selected the next time you open on your computer so you will just need to type in your password.
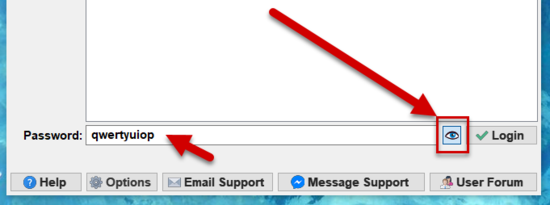
If your password doesn't appear to work then you can double-check it by clicking the 'Reveal' button.
To set options such as connection and proxy settings, click the 'Options' button.
If you can't log in and require support then you can e-mail us by clicking the 'Email Support' button.
Alternatively you can contact us by clicking the 'Message Support' button (uses Facebook Messenger).
We have a 'user forum', you can visit it by clicking the 'User Forum' button.
6. After clicking 'Login', if all goes well, then the program will look for and download your school settings, the next time you use the program it will be faster as it will only need to download changes. If you have trouble logging in then please see our Troubleshooting section.
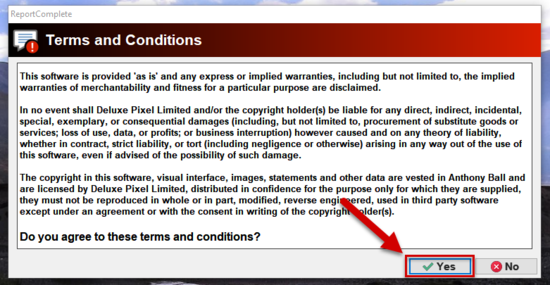
7. Like most programs, the very first time you use it you will be shown some terms and conditions.
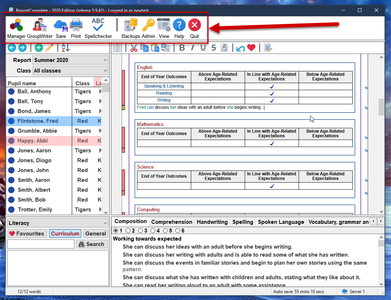
8. The Toolbar: You use this to select various functions when using the program eg: Saving, Printing, etc...
9. The Pupil List: You use this to select the pupil whose report you wish to edit. You can scroll up down to see more pupils. Click the pupil you want to edit. Press CTRL and click to select multiple pupils.
10. The Statement Area: This is where subject statement banks and your favourites will be displayed. You can double-click a statement to quickly enter it into a report.
11. The Report View: This is a "what you see is what you get" text editor that allows you to view and edit the current pupils report. You can scroll up to see the front page or down to see the rest of the subjects. There is a full set of word processing functions available if you right-click at any point.
12. The Completion Bar: You can use this to see the completion status of each section of the report. Inside the bars you will see the approximate number of words in the subject box.
13. Section copy and fine font icons: Click the icon to copy the entire paragraph or graphic image of a grid. Under the copy icon are two icons to fine-tune the font scale for the current subject (for that report).
14. The Save Icon: The program will automatically save your work when you exit, but you can click on the save icon to save your work at any time.
15. The Admin icon: The main options and settings are accessed via the Admin icon, this icon is only visible to the Administrator user. Clicking it will reveal a menu that will allow you to perform the basic housekeeping tasks of the program.


